 1. Cut down the dotted line of the Ruffle Line Template. I cut a U shape in the template so you could see how it should match up along your seam.
2. Align center line on the center of the bodice. Align E&F in the 1/4" seam allowance you cut in the neckline.

3. With a disappearing marker, tailor's chalk or very light pen, draw a line through the dotted lines from the Ruffle Line Template onto the right side (outside) of your fabric.
4. If you bought interfacing, apply it to the wrong side of the facings now. Then cut to shape of pattern.
 5. FINALLY. Now for the good stuff! On the wrong side of the fabric, stitch front bodice darts together. Darts are the triangle cutouts at the bottom of the bodice pieces. Use a 1/4" seam allowance. (See photo to left for reference). Do the same for the back bodice darts. Then iron seams flat.
6. Stitch back bodice to front bodice at sides, right sides together. Iron seams flat.
7. Now for the ruffle. If you have a serger, serge each long side of the ruffle rectangle piece. DO NOT STITCH ANYTHING TOGETHER. You are just encasing the fabric to keep it from fraying. If you don't have a serger just use a zigzag stitch.

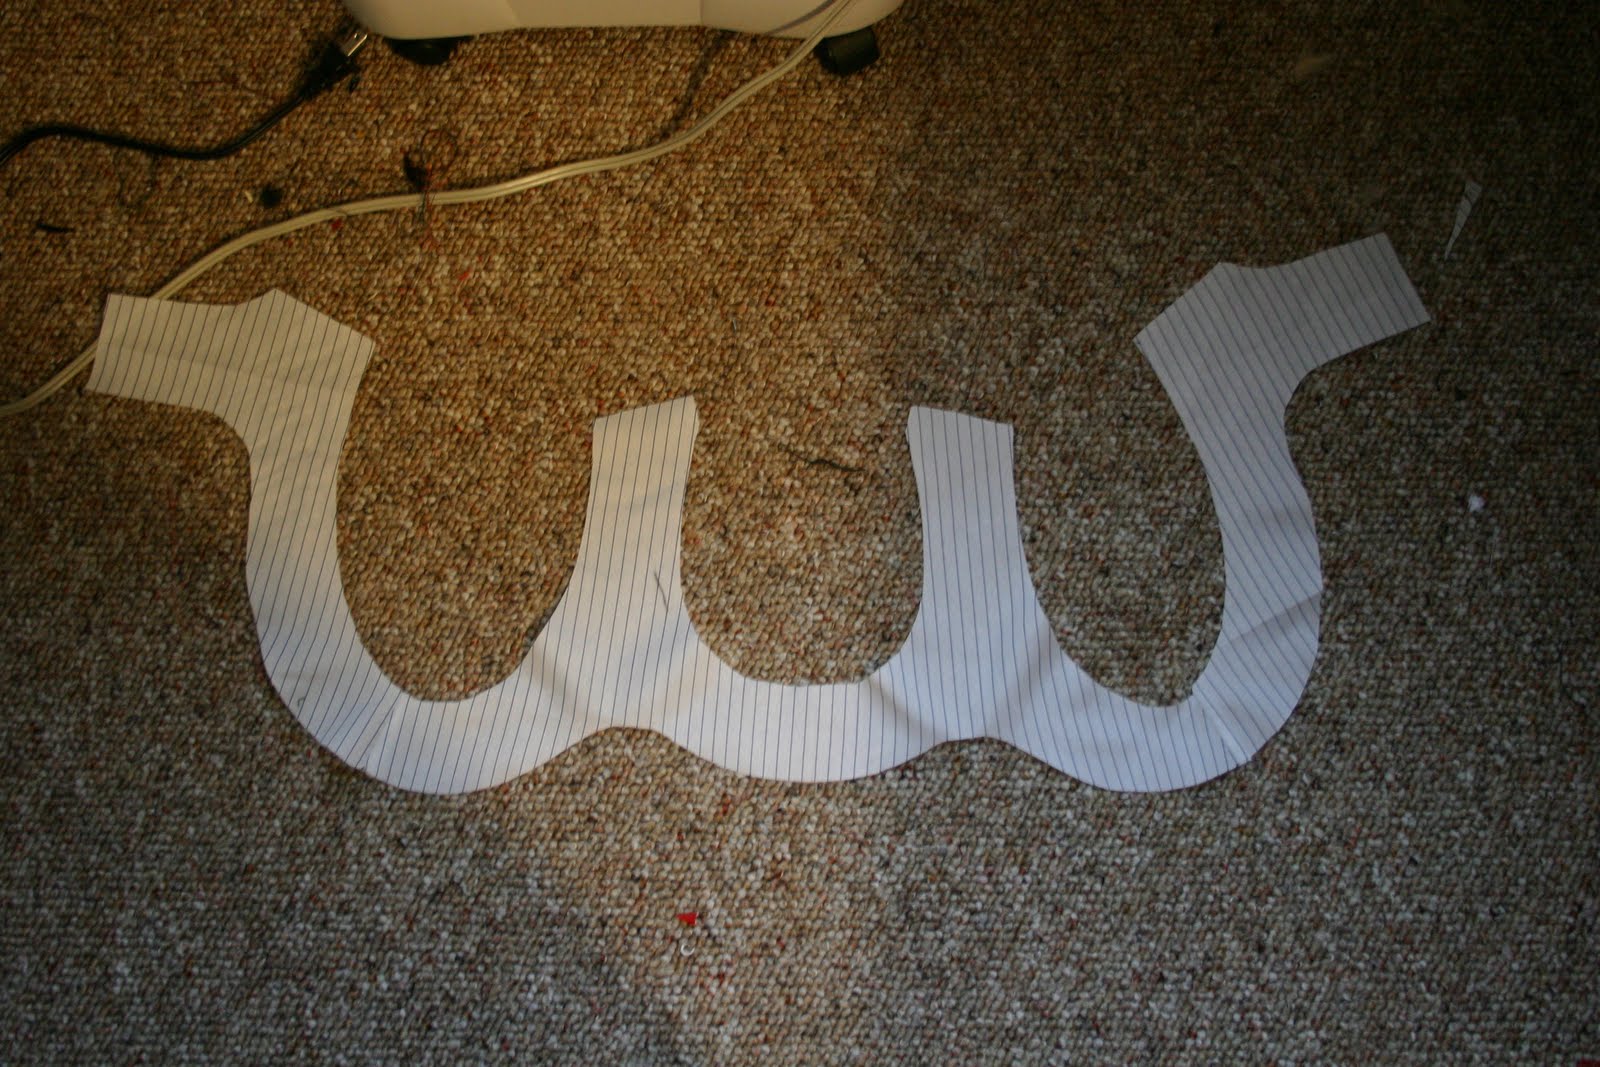
8. Sew the short edges with right sides together so that your rectangle is now the same length but thinner. Turn right side out. Iron flat. (see left photo for reference).
 9. Gather. If you don't know how to gather your fabric then read on....Stitch 1/4" down from the long edge of the rectangle. When doing this set your sewing machine to the loosest, longest straight stitch. Backstitch at beginning but NOT at the end.
At the end of the stitch, take one of the strings and push down the fabric making a ruffle. Do this until the ruffle is 21" long. Tie ends of thread.
DON'T FORGET TO SET YOUR SEWING MACHINE BACK TO THE ORIGINAL SETTINGS. I always forget.

10. Pin ruffle onto front right side of bodice from A to B. Pin the ruffle so that it lies above the A-B line. (see left image for reference) Stitch to bodice from A to B. Fold down to hide stitching.
11. Okay, now here's the tricky part. When pinning the ruffle from B to C you must twist it a little so that the ruffle lies above the line. Stitch to bodice from B to C. Fold down to hide stitching. Repeat until at point E.
12. Pin remaining ruffle from point E to point F matching
 ruffle edge to neck edge. Stitch ruffle ½” from neck edge. Remove gathering threads from ruffle.
13. In case your ruffle was too long, cut off the extra ruffle, fold over and stitch. It won't look as neat but it will look better than having an uneven ruffle.
Here is what is should look like when you're done.
 14. Sew bodice front facing and bodice back facing right sides together at side seams.
Iron flat. If you desire, encase the lower edges of the facing in a narrow zigzag stitch.
Done for today!
Tomorrow: Sew an All-In-One Facing and Piecing the Skirt together
Pattern courtesy of The Selfish Seamstress.

Post Title
→A Frock by Friday™: Tuesday
Post URL
→http://bizzybbakes.blogspot.com/2010/04/about-frock-by-friday-1.html
Visit bizzybbakes for Daily Updated Wedding Dresses Collection


