 A few months ago a friend of mine asked me if I could sew a dress for her daughter who was going to be a flower girl in an upcoming wedding with a 'Midsummer Night's Dream' theme.
I said sure, if you let me photograph the finished product for the blog. Deal.
So we perused etsy for some good ideas. She fell for the knotted tutus. Fortunately, I knew exactly how to make these. Not only are super easy but they require NO SEWING! Anyone can make one.
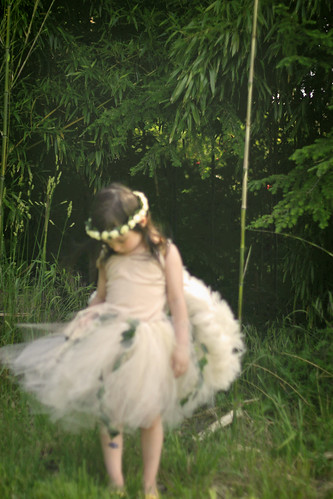
So she came over to my house one night and helped me cut the material while I knotted it around a piece of elastic. This is the finished product.
After reading all your wonderful survey comments I was surprised to discover that many many of you would like to see more tutorials. So, I'm taking this opportunity to write one.

First step is to purchase your tulle. You may not be able to tell from the photos but we bought ours in varying complimentary colors. This gives your tutu some depth and character. We choose ivory, tan and gold. I wanted to throw in a puce color but the bride's theme is more of a royal blue.
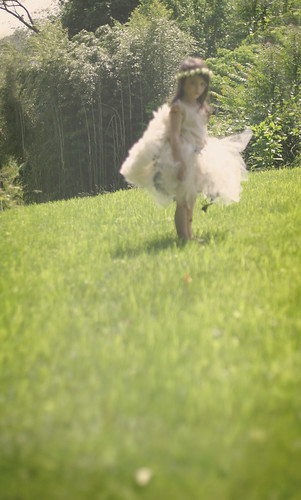
We bought 6 yards of tulle! Varying colors. This was enough for one poofy skirt. The amount of poof you want will of course depend on how much material you purchase. You can get anywhere from 4 to 8 yards depending on your child's measurements. To give you some idea of what may be right for you, Lily is nearly five years old and we used six yards.
We also added small vines with wire running through the stems bought at Micheal's. You can add any other embellishments of your choosing. Ribbons would also do the trick.
Don't forget the elastic. One yard will do.

Next step. Cut your tulle. Most fabric bought at fabric stores is 45" wide. This makes cutting easy. Just cut on the fold so that you have two long pieces. Do this with all your colors.
Then cut the tulle again into 4" wide strips. This may look WAY to short but when you put it on your little toddler it's actually just right. Feel free to cut the strips once you have knotted them on the elastic to the appropriate length.
Once you have all of your pieces cut set them aside to make the elastic waistband. First, measure your child's waist and cut the elastic accordingly. Then sew the two ends together (sorry, I lied, there is a little sewing involved).
You can also use a ribbon instead of elastic. Just be sure you have the correct length since you won't have any stretch. This can be nice if you want to leave extra long ends to tie together and make a pretty bow in the back or front.
 Then FINALLY you can begin knotting. To knot the tulle onto the elastic, fold one strip of tulle in half and place it under the elastic so that both sides are touching the elastic and the folded top is peaking at the top. (see bottom illustrations for help).
Then take the two ends and fold them up and over the elastic and through the hole made by the folded tulle peaking over the top of the elastic (see illustration) and pull through so that the knot is tight.
This knot is beyond simple. Trying to explain it makes it sound really awful. But just look at the below illustration to see what I mean.
Do this for the rest of your pieces until you are finished.
To add the vines in the photos I stripped the ends of the plastic vines with a wire cutter (see below illustration). Then take the exposed wire and wrap it around the elastic.

If you want to use ribbons instead just knot them as you did the tulle in varying intervals.
And VOILA! You're done!
Not to hard, eh?
Lily is also wearing feather wings. For those I just unraveled some wire hangers and shaped them into two teardrop shapes and fastened them together with string.
We then bought a feather boa and tied it with string to the wire frame.
Then I wrapped the gold ribbon in a criss cross around the two tear drop wing shapes and knotted the ends together.
I then cut two more stripes of gold ribbon and tied them to the criss crossed ribbon.
Finally I tied the one of the gold strips around Lily's left arm and the other gold strip around her right arm.
I used a plain nude colored cami from my closet for her top. I tied the straps in knots so it would fit her. Most camis are pretty tight and fitted so if you have one in your closet this trick may work for you too.
Feel free to link to this tutorial if you like. Use any pictures you think would help:)
Create a Link


Post Title
→Midsummer Nights Dream Tutu Tutorial
Post URL
→http://bizzybbakes.blogspot.com/2009/05/few-months-ago-friend-of-mine-asked-me.html
Visit bizzybbakes for Daily Updated Wedding Dresses Collection


