
My sister got married on Saturday.

Everything was quite lovely including Chan.
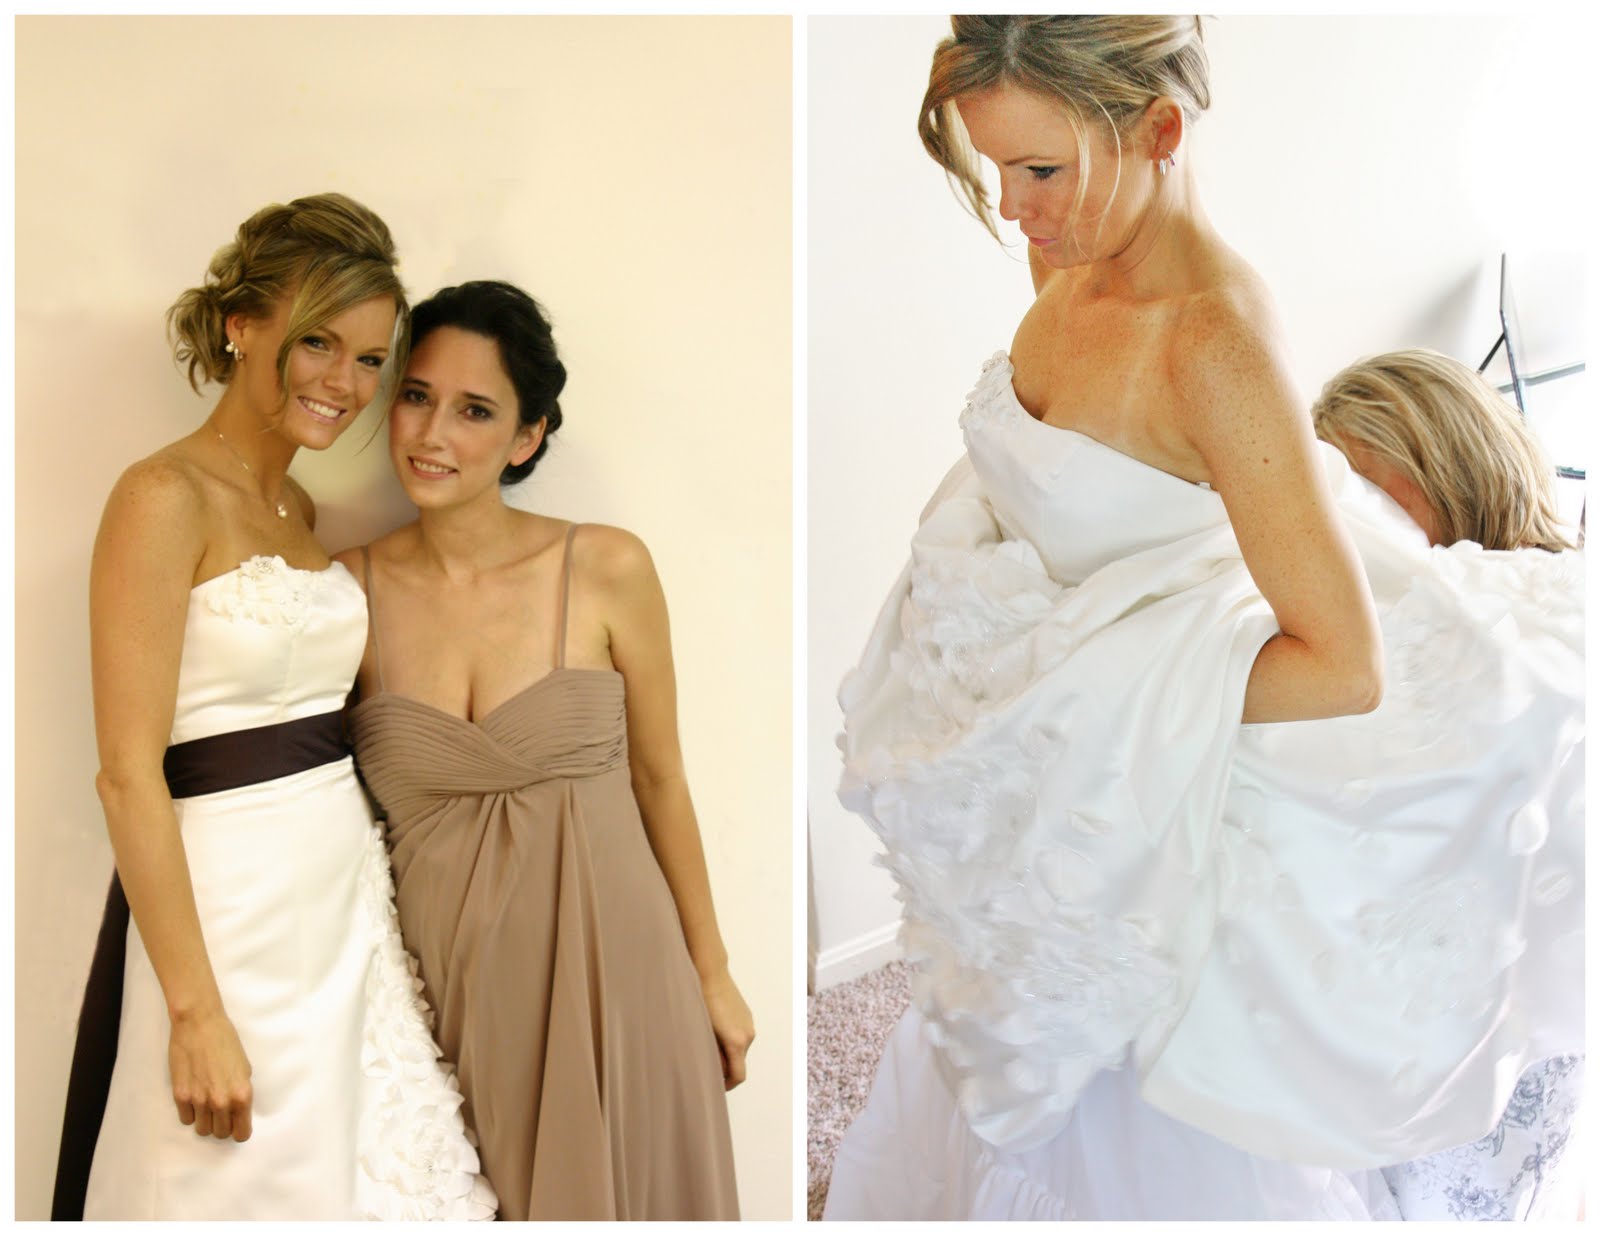
She wore a white dress with a brown sash and the bridesmaids wore shades of brown. When we went looking for gowns I noticed that the prices of the veils in the shop were ridiculously overpriced. So I offered to make hers. She wanted her veil to have brown ribbon at the bottom to match her brown sash.

Here's how I made it for under $10!!!!!!! Ours had a metal comb rather than a plastic one, was poofier and had more detail than the $120 we saw at David's Bridal.

Step 1: Decide what kind of veil you want. This tutorial is for a blusher-type veil which typically runs 22"-30". You'll need 3 yards of tulle. I cut mine in one 30" wide x 3 yards long piece AND one 22" wide x 3 yards long piece. Unvravel the tulle. Don't try to cut it folded. You'll get a lot of jagged edges. I laid mine out on my cutting mat and kept it flat with pattern weights. I used my rolling scissors to cut along the measured line. Then moved the rest of the tulle over and repeated until I had all 12 yards cut.

2. Using your gathering foot, highest tension and longest stitch setting gather each length of tulle the width of your comb.

3. Cut off the excess above your stitch line.

4. HAND sew the top layer on your comb (the shorter layer). Teeth facing toward the veil and on the convex side of the comb. THEN sew the bottom layer onto your comb (the longer layer) on top of that. You'll flip the entire veil over so that the shorter layer is on top and the teeth are facing away from the veil. That way you'll have some poof at the crown and cover the stitches.
When you place it on her head you'll push the comb forward (from her crown toward her forehead) upside down, then turn over so the comb is right side up and push back toward her crown securing in place.

5. When it's on her head the veil should look like this.

6. Lastly, optional, I added a ribbon. Since tulle does not fray you don't have to fold over the edges. Sew the tulle to the ribbon wrong side of ribbon and right side of tulle together. Sew closest to one side of the ribbon. I used a loose long stitch to prevent puckering as much as I could then steam ironed flat. Be careful not to use a setting that is too hot or your could melt the tulle.

Done. Enjoy.
Post Title
→Blushing Veil Tutorial
Post URL
→http://bizzybbakes.blogspot.com/2011/09/my-sister-got-married-on-saturday.html
Visit bizzybbakes for Daily Updated Wedding Dresses Collection


